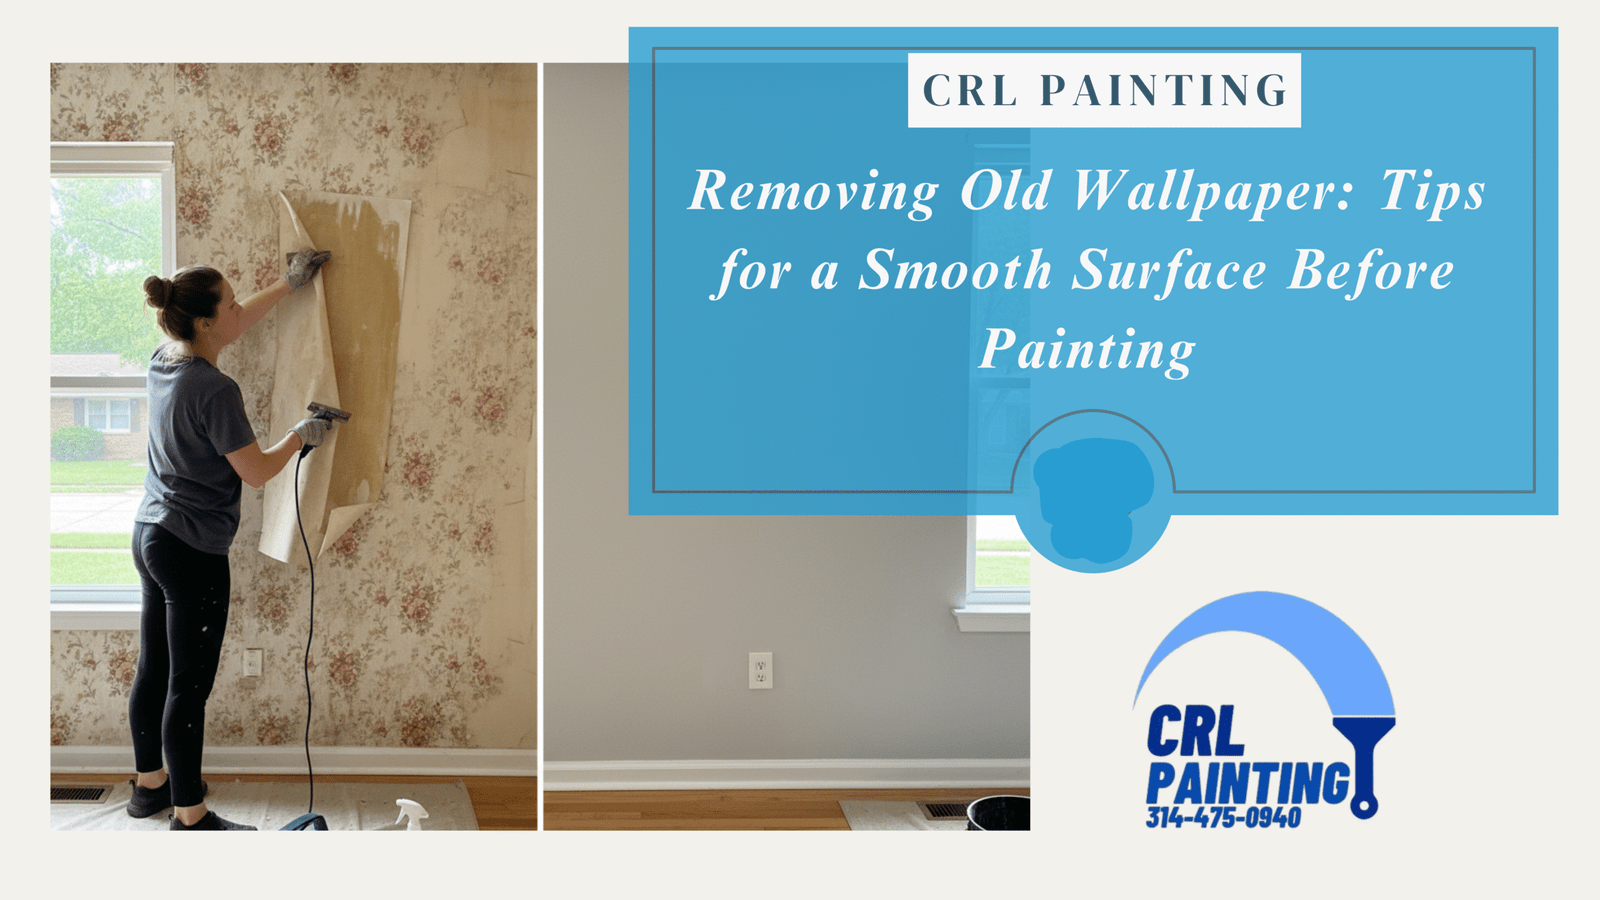
Removing old wallpaper is one of those home improvement tasks that can completely transform your interior, but only if done correctly. Many St. Charles homeowners are eager to refresh outdated rooms with a fresh coat of paint, only to discover that wallpaper removal can be messy, time-consuming, and risky for walls when not handled properly.
Whether you’ve inherited vintage floral wallpaper or a bold pattern from a previous homeowner, this guide explains how to safely and effectively remove wallpaper, prepare your walls for painting, and why hiring professionals is often the smartest way to ensure a flawless finish.
Why Wallpaper Removal Matters Before Painting
Painting over wallpaper may seem like an easy shortcut, but it rarely ends well. Over time, paint can cause the wallpaper glue to bubble, peel, or crack, ruining your fresh coat. Proper removal ensures:
- A smooth, even surface for painting.
- Long-lasting paint adhesion.
- No trapped moisture or mold growth behind the paper.
Especially in St. Charles homes where humidity levels fluctuate, skipping proper wallpaper removal can lead to paint failure within months.
Step 1: Prepare Your Space for Wallpaper Removal
Preparation is key to avoiding damage and making cleanup easier.
Here’s what you’ll need:
- Plastic sheeting or drop cloths
- Painter’s tape
- Putty knife or wallpaper scraper
- Spray bottle or garden sprayer
- Wallpaper scoring tool
- Steamer (optional)
Start by moving furniture away from the walls and covering floors and outlets. Protect baseboards with painter’s tape to prevent moisture from seeping behind them.
Step 2: Identify the Type of Wallpaper
Not all wallpapers are the same, and knowing what you’re dealing with helps you choose the right removal method.
Common types include:
- Strippable wallpaper: Peels off easily without much residue.
- Vinyl-coated wallpaper: Requires scoring to penetrate the surface.
- Traditional wallpaper: Needs water or steam to dissolve glue.
Test a small section first. If the wallpaper peels easily, you can proceed with a dry removal. If not, you’ll need to use a moisture or steam-based method.
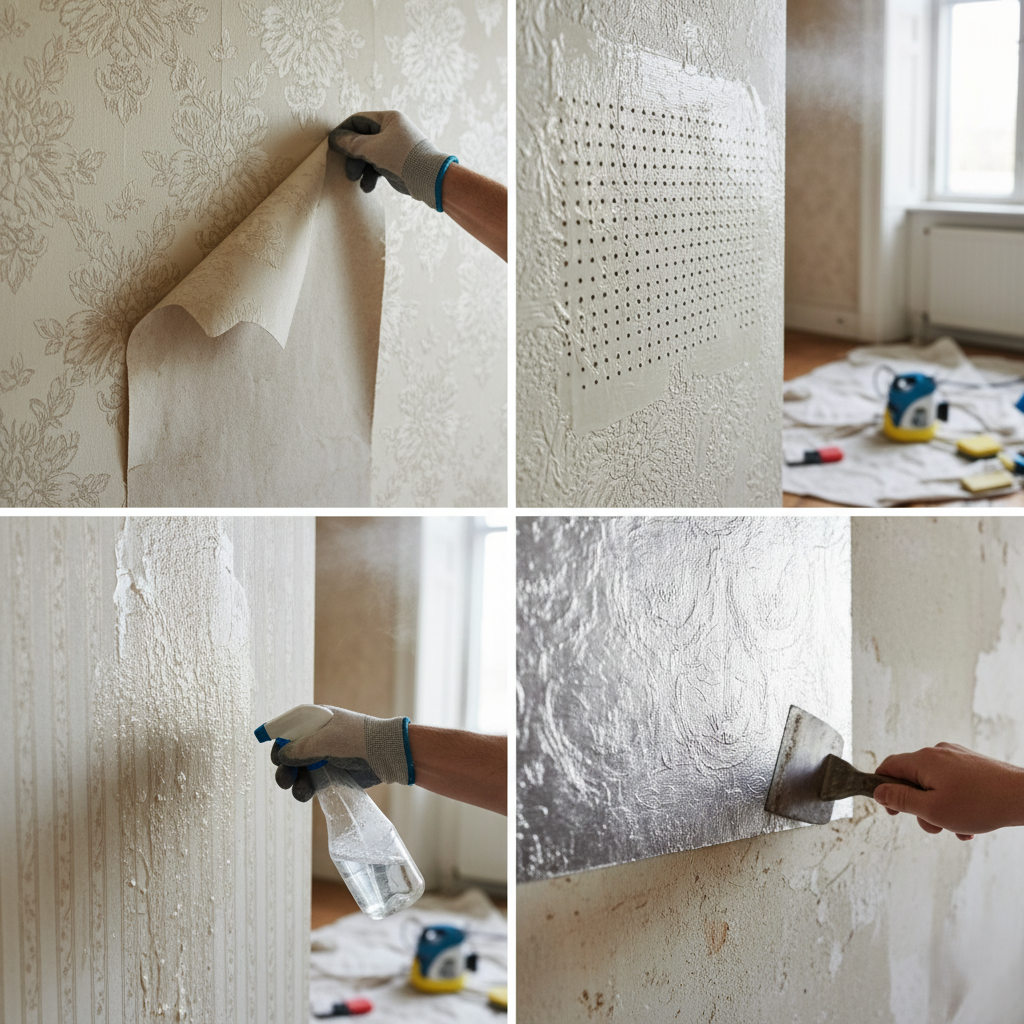
Step 3: Apply Wallpaper Removal Solution
Mix warm water with a few drops of dish soap or use a commercial wallpaper remover. Apply the solution using a spray bottle or sponge. Allow it to soak for 10–15 minutes to loosen the adhesive.
If the wallpaper is vinyl-coated, use a scoring tool first to create tiny holes that allow moisture to reach the glue beneath.
Pro Tip: Avoid using boiling water or harsh chemicals; they can damage drywall and create unnecessary fumes indoors.
Step 4: Peel Away Wallpaper Carefully
Once the adhesive softens, use a putty knife or scraper to lift the wallpaper from the bottom up. Work slowly and avoid gouging the drywall.
For tough spots, reapply the removal solution and let it sit longer. Patience is key here; rushing can lead to torn drywall or leftover paper fibers.
Step 5: Remove Residual Adhesive
After all the wallpaper is removed, you may still have glue residue left on the wall. This step is critical; leftover adhesive can ruin your paint job.
Wipe down the walls using a sponge soaked in a vinegar-water mixture or mild detergent. Rinse thoroughly and let the surface dry for at least 24 hours.
Step 6: Repair and Smooth the Walls
Examine your walls for nicks, scratches, or small holes caused during removal. Fill any imperfections with joint compound or spackle, let it dry, then sand lightly with fine-grit sandpaper.
Once smooth, apply a primer designed for newly cleaned walls to seal the surface and prepare it for paint. This ensures consistent color and helps the paint adhere properly.
Step 7: Prime and Paint for a Perfect Finish
After the surface is fully prepped, it’s time for the transformation. Apply a high-quality primer, allow it to dry, then paint using your desired finish.
A professional painting team will ensure:
- Smooth and even coats
- No visible seams or imperfections
- The right paint type for your room’s humidity and lighting
Common Mistakes Homeowners Make When Removing Wallpaper
While it may seem like a simple DIY project, wallpaper removal is often trickier than it looks. Here are the most common mistakes homeowners make:
- Skipping the prep work – Forgetting to protect flooring and outlets can cause water damage.
- Using too much pressure – Aggressive scraping can gouge drywall.
- Not removing glue residue – Leftover adhesive prevents paint from sticking.
- Painting too soon – Surfaces need time to dry before painting.
- Ignoring mold or mildew – Moisture trapped under old wallpaper can lead to long-term problems.
Why Professional Wallpaper Removal in St. Charles Is Worth It
Hiring a professional wallpaper removal service in St. Charles is the best way to ensure your walls are perfectly smooth, damage-free, and ready for painting.
Here’s what professionals offer:
- Industrial-grade steamers and removal tools
- Expertise in handling different wall types (drywall, plaster, etc.)
- Quick, efficient removal with minimal mess
- Wall repairs, priming, and prep for immediate painting
A trusted local team will assess your walls, choose the safest method, and guarantee a clean, paint-ready finish that DIY methods often fail to achieve.
Eco-Friendly Wallpaper Removal Options
If you’re an environmentally conscious homeowner, there are green methods to remove wallpaper safely:
- Use vinegar and water instead of chemical removers.
- Choose biodegradable wallpaper adhesives for future installations.
- Dispose of old wallpaper responsibly in recycling or waste management facilities.
Professionals in St. Charles often use low-toxicity cleaning solutions and controlled water use to reduce environmental impact while maintaining efficiency.
Call to Action: Make Your Walls Paint-Ready with Our Professional Help
Don’t risk damaging your walls or spending days peeling stubborn wallpaper. At CRL Painting, we specialize in professional wallpaper removal and wall preparation services in St. Charles. Our team uses safe, efficient techniques to deliver smooth, paint-ready surfaces — so your next coat of paint looks flawless and lasts for years.
Call us today to schedule your wallpaper removal service and enjoy a stress-free, professional finish!