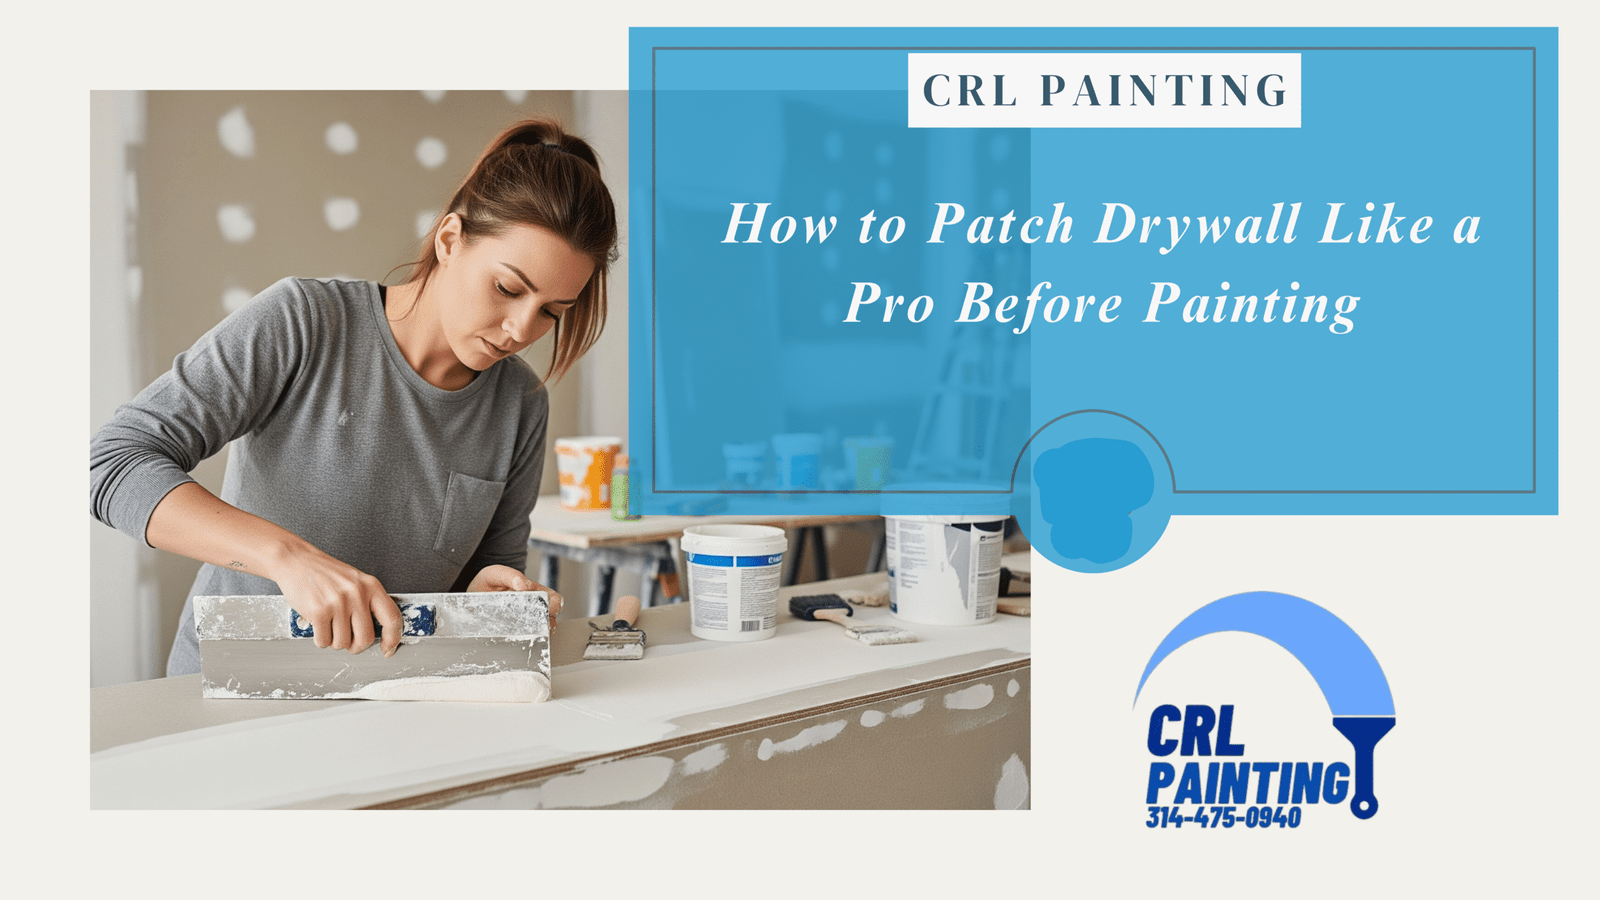
Nothing ruins a fresh coat of paint faster than dents, holes, or cracks peeking through your walls. Whether you’re covering nail holes, patching dents from moving furniture, or repairing larger damaged sections, learning how to patch drywall like a pro before painting will make your finished walls look smooth, seamless, and new. Here’s a detailed, step‑by‑step guide to get professional‑quality results, even if you’re a DIY beginner.
Why Proper Patching Matters
Fresh paint highlights surface imperfections instead of hiding them. Proper drywall patching:
Ensures a smooth, even finish
Helps paint adhere better
Extends the life of your walls and your paint job
Skipping this prep step or rushing it can lead to visible patches, bumps, or cracking later.
Tools & Materials You’ll Need
Joint compound or lightweight spackle
Putty knife (2–6 inches wide)
Sanding block or fine‑grit sandpaper (120–220 grit)
Drywall patch (for larger holes)
Primer and paint
Damp sponge or cloth
Utility knife
Step 1: Inspect and Prepare the Area
Start by locating all dents, dings, cracks, and holes. Even small imperfections can show through paint. Clean the wall with a damp cloth to remove dust, dirt, and grease.
Step 2: Choose the Right Patch Method
Small holes (nail holes, screw holes, dents). Use lightweight spackle.
Medium holes (up to 2–3 inches). Use a self‑adhesive mesh patch or fill in layers of joint compound.
Large holes (over 4 inches). Cut out the damaged section and replace it with a new piece of drywall secured with backing strips, then tape and mud.
Step 3: Apply Spackle or Joint Compound
For small holes and dents:
- Use the putty knife to press spackle into the hole.
- Smooth it flat, feathering edges outward so it blends with the wall.
- Let dry completely according to product instructions.
For larger patches:
- Place the patch over the hole, cover with joint compound, and feather edges 2–3 inches beyond the patch.
- Apply 2–3 thin coats, letting each layer dry before adding the next.
Step 4: Sand for a Smooth Finish
Once the compound is fully dry:
Lightly sand the patch with fine‑grit sandpaper.
Check for high spots, rough edges, or divots.
Wipe the area clean with a damp sponge or cloth to remove dust.
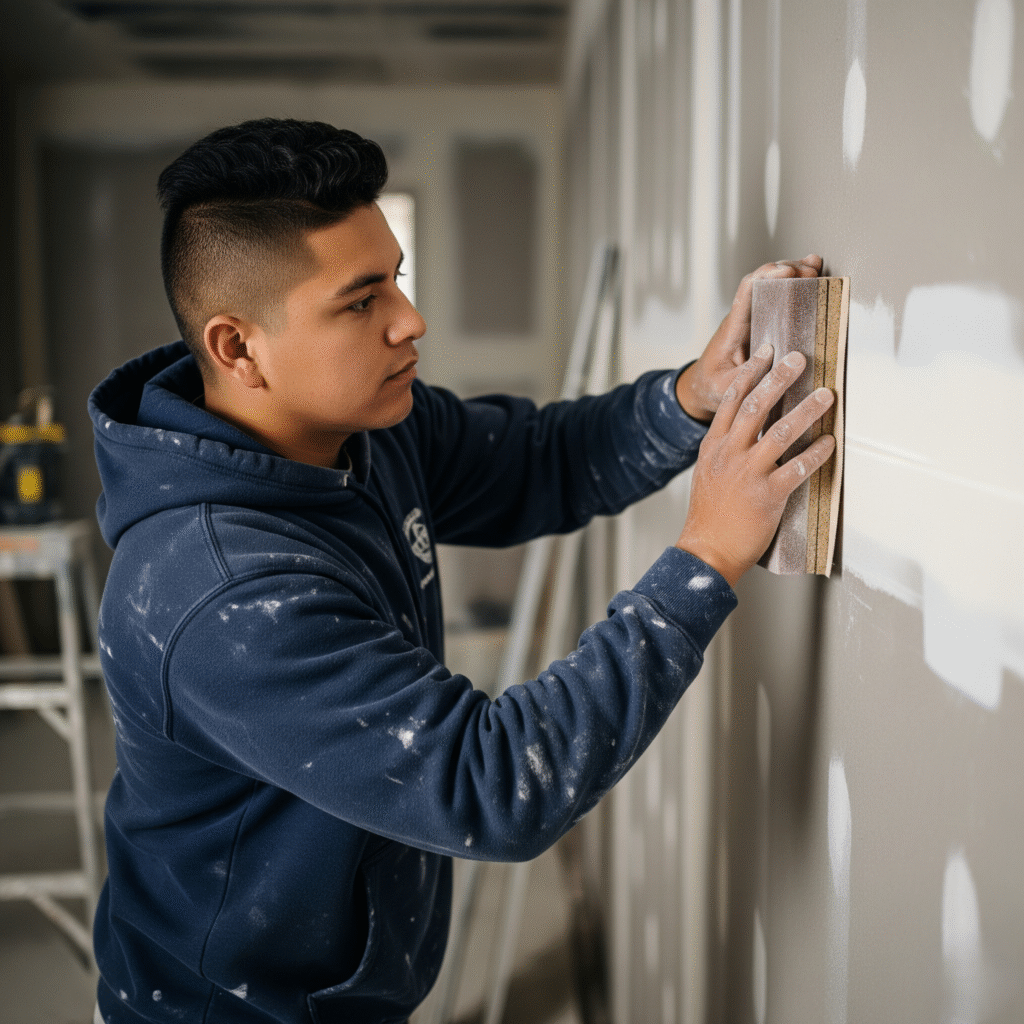
Tip: Always wear a mask when sanding to avoid breathing in dust.
Step 5: Prime Before Painting
Drywall patches absorb paint differently than the surrounding wall surfaces. Applying primer:
- Seals the patch
- Prevents “flashing” (shiny or dull spots under paint)
- Ensures even color and sheen
Use a high‑quality drywall primer or stain‑blocking primer if covering water marks or crayon marks.
Step 6: Paint and Enjoy
Once the primer is dry:
Cut in around edges with a brush
Roll paint over the patched area, blending into the rest of the wall
For the best results, paint the entire wall section
Two coats are typically recommended for full coverage.
Pro Tips for Flawless Drywall Patching
Don’t rush drying time. Each layer of compound must dry fully before sanding or painting.
Feather edges. The wider the feathering, the less visible the patch.
Use light pressure when sanding. Avoid creating low spots or damaging the surrounding drywall.
Match paint finish. Touch‑ups look best when you use the same sheen (matte, eggshell, satin) as the original paint.
Common Mistakes to Avoid
Skipping primer leads to flashing or uneven sheen
Applying too much compound at once causes cracking as it dries
Using dirty tools can leave streaks or debris in the finish
Sanding too aggressively damages the paper facing of drywall
When to Call a Professional
If you have:
- Cracks larger than 1/4 inch
- Significant water damage or mold
- Large holes (over 12 inches)
- Textured walls that need matching
A pro can repair, texture, and blend patches seamlessly.
Final Thoughts
Knowing how to patch drywall like a pro before painting saves money and dramatically improves the final look of your space. With a little patience and the right tools, you’ll enjoy walls that look smooth, fresh, and ready to impress. Contact us today!