
A well-maintained, stained deck can dramatically improve your outdoor space, adding warmth, color, and protection against the elements. Whether you’re preparing your deck for summer BBQs or just want to give it a facelift, DIY deck staining is a manageable and rewarding home improvement project.
In this beginner-friendly guide, we’ll walk you through each step of the deck staining process, from prep to finishing, so you can achieve professional-looking results without hiring a contractor.
Why Stain Your Deck?
Staining your deck doesn’t just enhance its appearance; it also helps:
- Protect wood from UV damage, moisture, and mildew
- Prolong the life of the deck by preventing rot and decay
- Reduce splintering and cracking
- Add aesthetic value and increase home resale appeal
Compared to painting, stain allows the natural wood grain to shine through while providing strong weather resistance.
What You’ll Need
Before getting started, gather these essentials:
- Deck cleaner or wood brightener
- Pressure washer or garden hose with nozzle
- Sandpaper or power sander (60–80 grit)
- Exterior wood stain (semi-transparent or solid)
- Stain applicator pad, roller, or paintbrush
- Paint tray and extension pole
- Painter’s tape and plastic sheeting
- Safety gear: gloves, mask, and goggles
Step 1: Clean the Deck Thoroughly
Why it matters:
Any dirt, mildew, or old stain will prevent the new stain from penetrating the wood.
How to do it:
- Sweep off loose debris
- Apply deck cleaner with a stiff-bristle brush or sprayer
- Let it sit for 10–15 minutes, then rinse thoroughly
- Use a pressure washer for deep cleaning (stay under 1500 PSI to avoid wood damage)
- Allow at least 48 hours to dry completely
Step 2: Sand Rough or Weathered Wood
Why it matters:
Sanding removes splinters and opens up the wood grain for better stain absorption.
How to do it:
- Use a power sander or sanding block with 60–80 grit sandpaper
- Focus on rough areas, handrails, and any flaking stain
- Sweep or vacuum dust after sanding
Step 3: Choose the Right Stain
There are three main types of stain:
- Clear stain/sealer – No color, just water and UV protection
- Semi-transparent stain – Adds color while showing wood grain
- Solid stain – Offers bold color and maximum protection, but hides wood grain
Choose a product designed for exterior wood decking, and make sure it’s compatible with your previous finish if you’re re-staining.
Step 4: Protect Surrounding Areas
Cover nearby siding, grass, concrete, or plants with plastic sheeting or painter’s tape to prevent accidental splashes and overspray.
Step 5: Stir (Don’t Shake) the Stain
Mix thoroughly with a paint stirrer to ensure even color and consistency. Never shake the can, as this can cause bubbles in the finish.
Step 6: Apply the Stain Evenly
How to do it:
- Start with railings, posts, and stairs using a brush
- For the deck surface, use a stain pad or roller with an extension pole for faster coverage
- Work in small sections (2–3 boards at a time) to maintain a wet edge and avoid lap marks
- Apply stain in the direction of the wood grain
- Wipe away excess with a clean rag to prevent sticky residue
Step 7: Allow Time to Dry
Most stains need 24–48 hours to cure fully. Avoid foot traffic, pets, and furniture until the stain is completely dry. Dry times may vary based on weather, humidity, and product type. Always read the manufacturer’s label.
Bonus Tips for Best Results
- Stain on a dry, overcast day (temperatures between 50°F and 80°F are ideal)
- Avoid staining in direct sunlight, as it causes the stain to dry too fast and may leave streaks
- Don’t apply multiple thick coats unless the product allows it; one even coat is usually sufficient
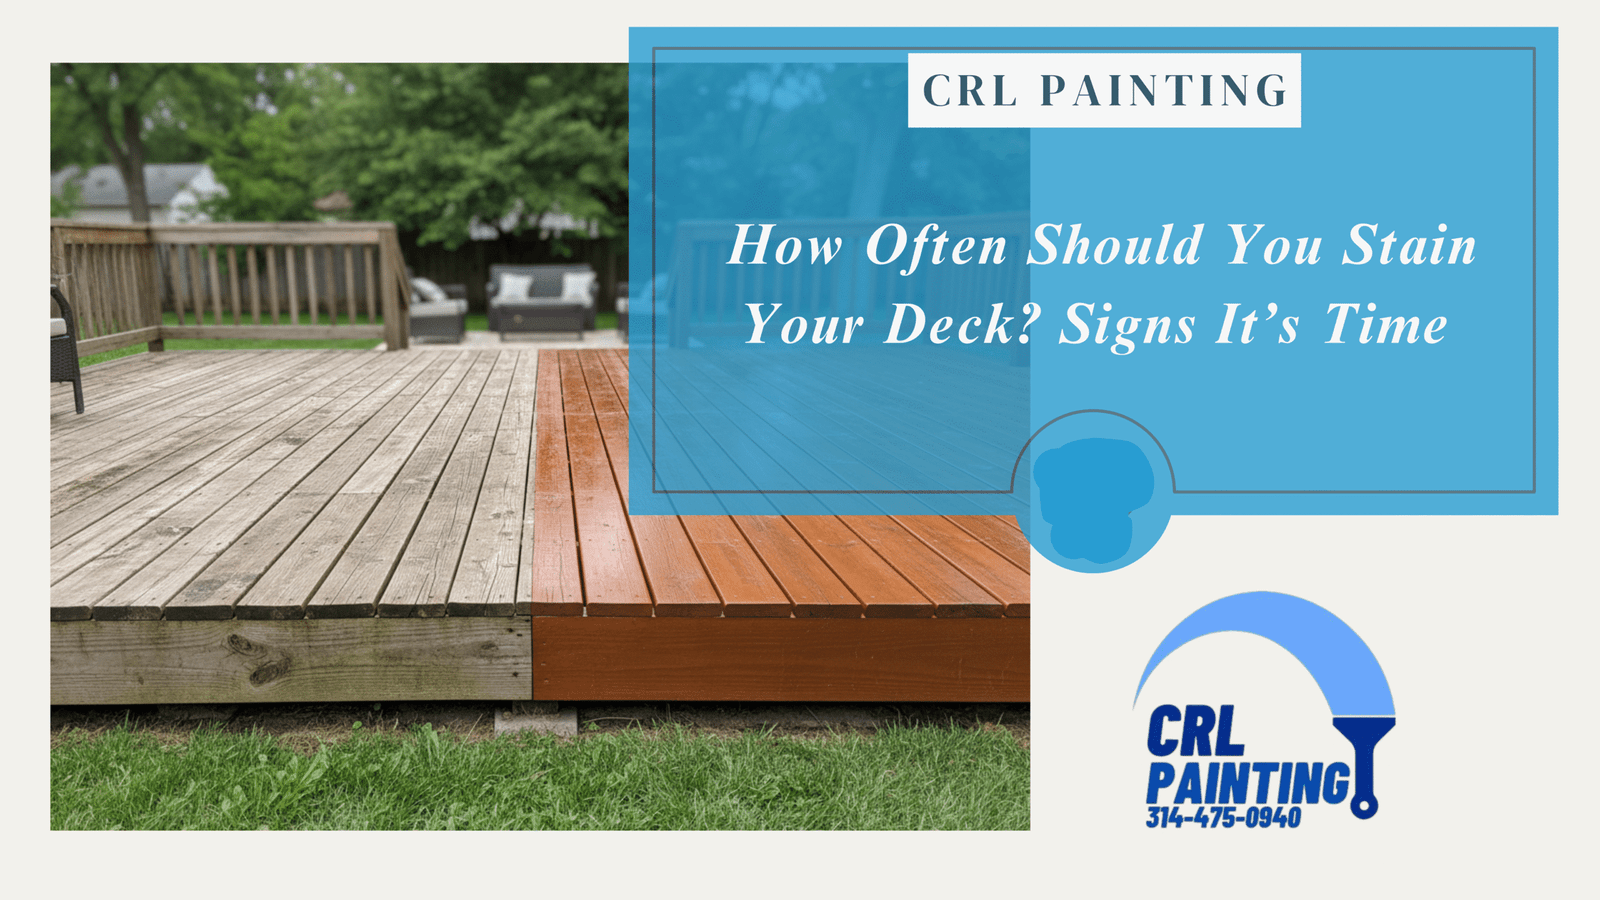
- Re-stain every 2–3 years, or as needed based on wear and weather exposure
When Not to Stain Your Deck
- Right after installation, New pressure-treated wood needs 2–6 months to dry before staining
- Before rain: Rain within 24 hours of staining can ruin the finish
- In extreme heat, High temps can cause blotching or uneven absorption
Final Thoughts
Staining your deck is one of the best DIY projects to revitalize your outdoor living space. With the right tools, preparation, and patience, you can protect your deck and keep it looking stunning season after season.
Follow this step-by-step guide, and you’ll enjoy a beautifully stained deck that not only looks great but stands up to the elements for years to come. Contact us today!

One Response